

Using Fluorescent Acrylics Effectively!
To describe it very quickly, I would say that they are actually revealing shades. Illuminator hue, radiance, highlighter, colour filter, tinted glaze … It looks like a makeup class! And no, I’m really about to talk about painting and power of fluorescent.
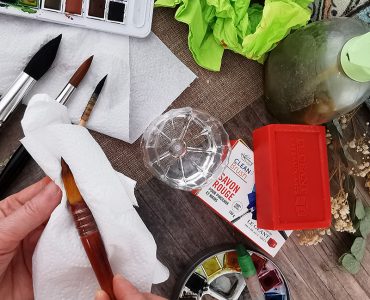
Materials:
- 4 fluorescent Reflex Colour Paints STANDARD SERIES, Amsterdam/Royal Talens (transparent acrylic)
- 4 colour Paints EXPERT & STANDARD SERIES, Amsterdam (opaque acrylic)
- 12 square white cardboards (colour samples).
- 1 black pen and a ruler (to draw marks on the samples)
Note: After complete drying of samples we can still see the lines on the cardboard. (Reflex Fluorescent paint opacity = zero). Then I associate the 4 fluorescent colours to these 4 colours just below:
Cadmium Yellow Deep, Emerald Green, Quina Rose Deep Opaque, Cadmium Red Deep
Colours Game:
To combine paint with fluorescent, I use 2 methods: the mix (sample C) and the glaze (Sample D with a hat to indicate that colour is placed on top). Look at the results in the pictures below!
Yellow Colour Range
- A Sample = Cadmium Yellow Deep 100%
- B Sample = Reflex Yellow 100%
- C Sample = Cadmium Yellow Deep + Reflex Yellow
- D Sample = Reflex Yellow applied on Cadmium Yellow Deep
Pink Colour Range
- A Sample = Quina Rose Deep Opaque 100%
- B Sample = Reflex Pink 100%
- C Sample = Quina Rose Deep Opaque + Reflex Pink
- D Sample = Reflex Pink applied on Quina Rose Deep Opaque
Green Colour Range
- A Sample = Emerald Green 100%
- B Sample = Reflex Green 100%
- C Sample = Emerald Green + Reflex Green
- D Sample = Reflex Green applied on Emerald Green
Red Colour Range
- A Sample = Cadmium Red Deep 100%
- B Sample = Orange Fluo Reflex 100%
- C Sample = Cadmium Red Deep + Reflex Orange
- D Sample = Reflex Orange applied on Cadmium Red Deep
To conclude:
Mixing Reflex colours with other paints, we can notice that the fluorescent:
- Disappears in the mix. (eg sample C in Red and Yellow Colours Ranges)
- Reduces the opacity of a deep colour paint (eg sample C in Green Colour Range)
However, this test can also reveal the power of fluorescent paints which is revealed if we apply the glaze method.
Working on a dry colour layer, the fluorescents will:
- increase the brightness of the hue from the first colour (eg Sample D in Yellow Colour Range)
- ignite the colour below (eg Sample D in Pink Colour Range)
- add a tinted filter to the initial colour (eg Sample D in Red Colour Range)
Obviously, the fluorescent glaze can be applied on other colours. The results are more or less surprising; therefore I recommend you always do a test first.
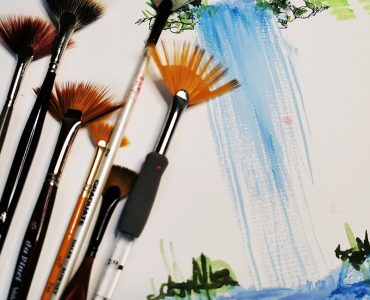
My favourite Fluorescent Colour Paints: Amsterdam, Flashe, Sennelier Abstract
Information for this article was provided by professional fine artist, Amylee Paris. You can visit her colourful portfolio or follow her on Facebook and Instagram.
Find all Amylee’s posts published in GreatArt online Magazine by clicking here!
GreatArt – your art superstore
Art supplies, ideas and advice for all techniques.
GreatArt offers you art supplies for all techniques from:
- traditional fine art painting,
- drawing,
- sculpture,
- printmaking,
- graphic art,
- illustration,
- airbrushing,
- model making…
We offer an extensive range of stretched canvas and display products for exhibition, all the art supplies required to create your own bespoke canvases, as well as custom framing and mounting services from GreatArt Store. You’ll also find hundreds of articles and tutorials to browse in the online magazine.


Thanks. A great study in fluorescent colour paints. Loved it!